“Could you take my picture
‘Cause I won’t remember”
~ Filter “Take A Picture”
I’ve been kindly asked by Gene Berkenbile, professional photographer and administrator of the Facebook group Photography- The Making of Great Photographers, to write a little bit about concert photography since it is one of the genres of photography that I enjoy doing. I honestly never thought I would get into this particular genre, but I married an amateur musician who plays guitar in a couple of bands. He plays, I shoot. It’s something we can do together. So here is my beginner’s primer for taking images of a live local band.
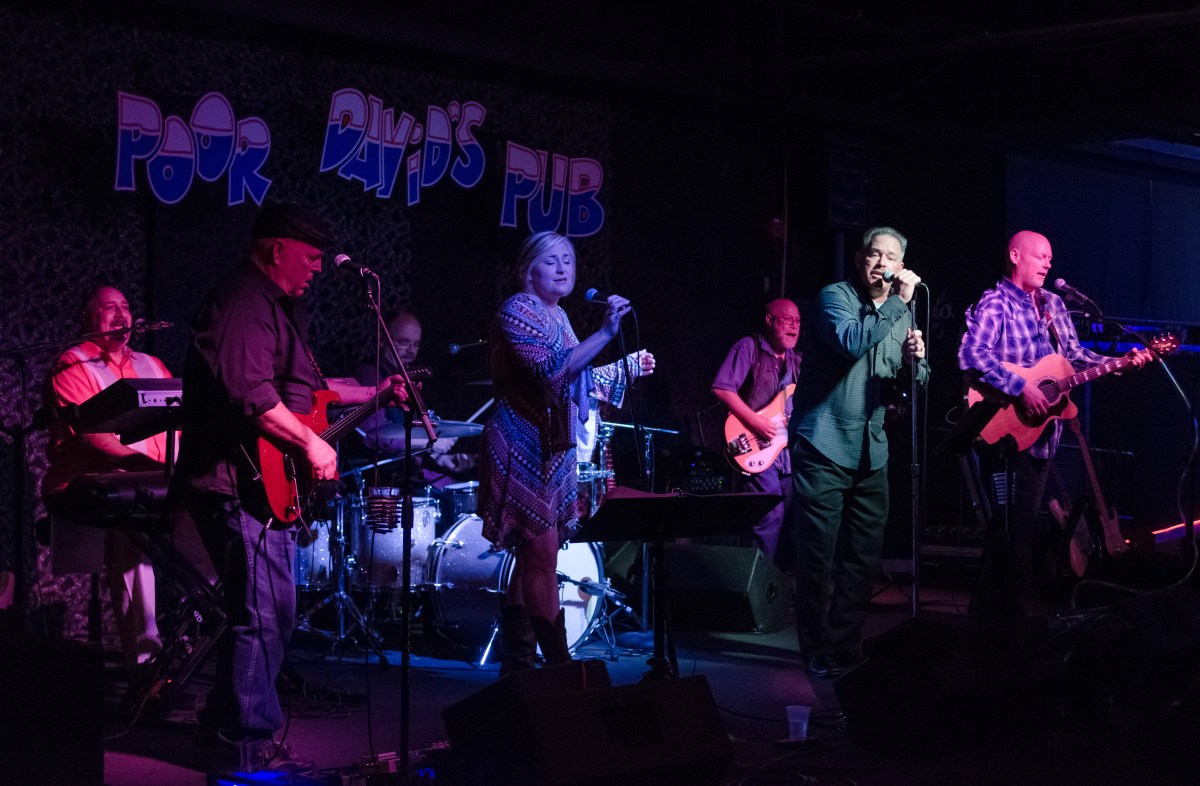
One thing you might notice about live local band photography is that the gig you’re shooting often takes place in a dark and crowded setting. The lighting can be anything from harsh spotlights, to changing colorful lights, to incandescent strings of light bulbs. Factor in the fact that no flash photography is typically allowed (or welcome, as musicians don’t tend to like light popping in their face while playing). Combine this further with the realization that there is a lot of movement on stage: singers gesturing and moving around, guitarists wildly strumming, drummers keeping the beat. It’s like low-key portrait photography complete with moving subjects!
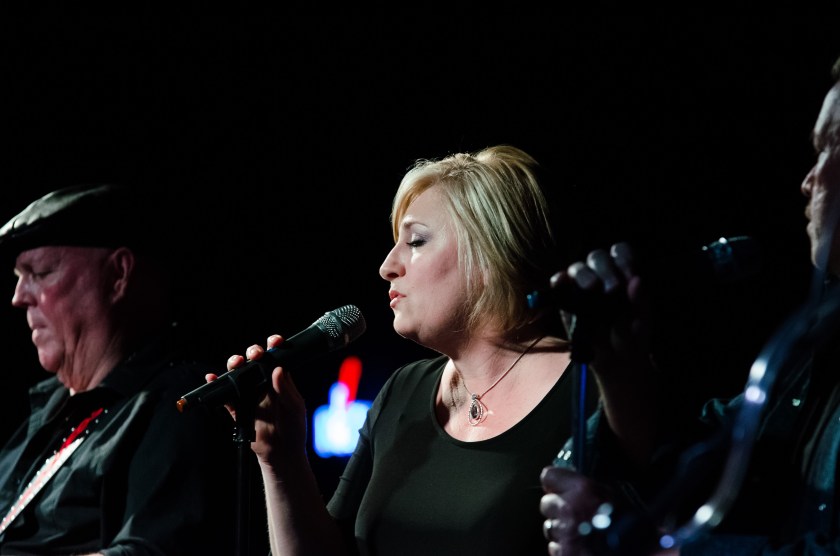
Danny Carroll, Wendy Reynolds and Kevin Reynolds of Motel California, Poor David’s Pub, Dallas, Texas
So what do you do to take control of the situation photographically? Remember all those lectures about the exposure triangle and how ISO, shutter speed, and aperture all interrelate? That comes in handy here. Whatever camera you are using, you will probably need to set a high ISO to increase sensitivity to light. That of course, comes with a cost, as images taken with a higher ISO are normally noisier (more pixelated), especially in cameras with smaller sensors. Nevertheless, a certain amount of graininess in these kinds of pictures is to be expected, noise reduction software is abundant (you can even reduce it in Lightroom), and it isn’t as noticeable in small web-sized images. Basically, I start with an ISO of 1600 and adjust as needed depending upon the lighting situation. I have gone as high at 6400 in really low light. Another useful setting to have is a large aperture. Concert photographers tend to invest in what is termed “fast glass,” not because the speed of the lens is fast but because the aperture can be opened to f/1.4 or f/2.8, letting in more light.
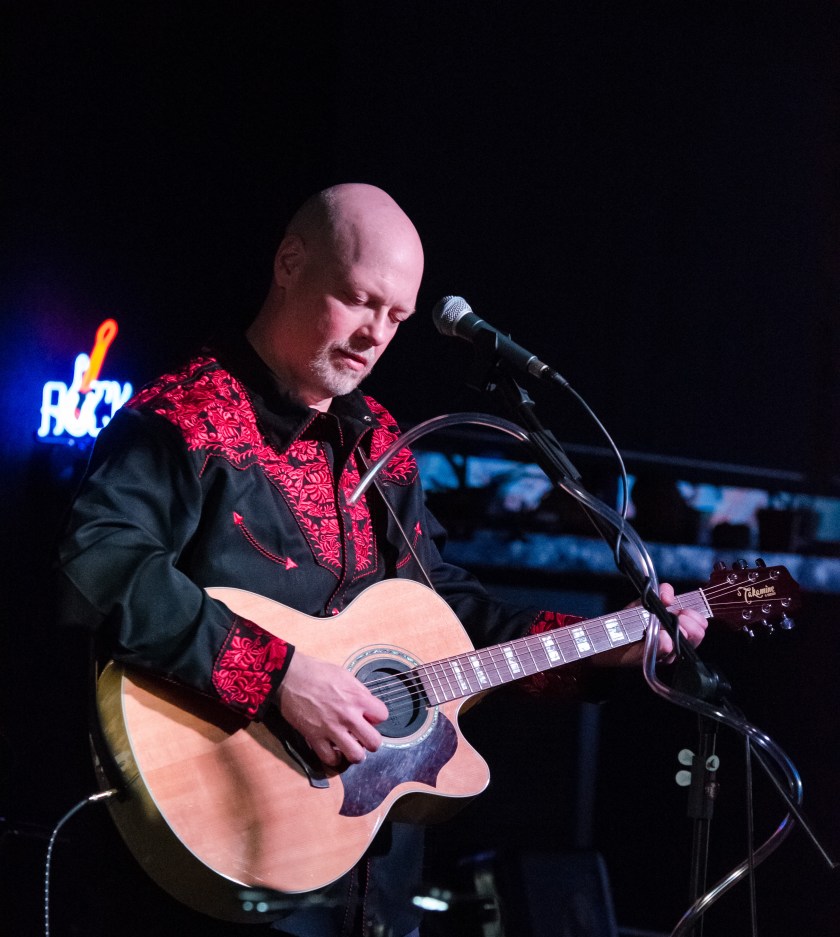
Dave Adams of Motel California, Poor David’s Pub
Finally, you have to consider what kind of shutter speed is useful to the image you are trying to convey. For a sharp still image of a moving subject, at bare-minimum 1/125 second is a go-to setting. However, it may be that you want to convey a certain sense of motion, whether it involves the guitarist’s hand or the drummer’s sticks. For this, practice the same shutter drag technique that you would use for a waterfall and lower your shutter speed. Now, to adjust all of these settings properly, you will need to meter the scene accurately. Some concert photographers recommend using evaluative metering, and some use spot metering. I would argue that your type metering depends on what scene you are photographing. For example, if I’m shooting a close-up of a musician in a spotlight playing his guitar, I will use spot metering, but if I’m shooting the whole band, evaluative metering comes in handy.

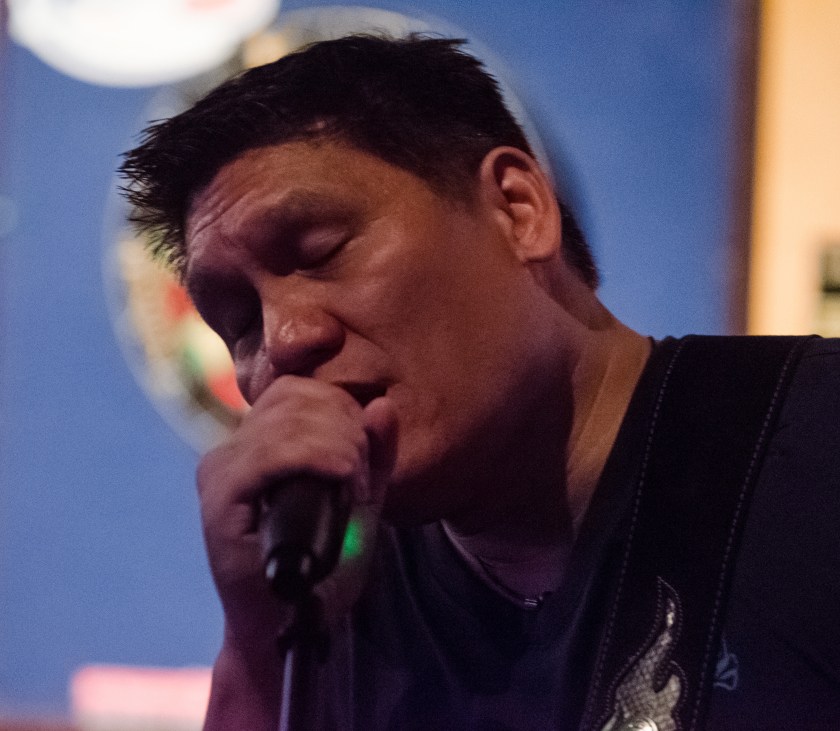
Kurt Cottey, Motel California, Poor David’s Pub
Aside from the exposure triangle, there are a few other caveats of band photography you may observe. If you’re in a crowded room, don’t block everyone’s view of the band for too long. Get your shots and get moving. This has the added bonus of giving you different angles to choose from. You could also prop yourself against something like a wall or pillar to help stabilize your shot, and it keeps you a little more hidden. Another issue is that places like small indoor and outdoor venues are going to have small stages. Band equipment may be crowded everywhere, and there may be clutter (read: items distracting the viewer from your killer shot) behind it on the walls. One way to get around this obstacle is to use a shallow depth of field with a longer lens. You can take head and shoulders portraits of the band members or of their instruments. Lastly, you will come to understand what I mean when I say “the dreaded red light.” This is the light (and some other color schemes as well) which tends to ruin shots, making them oversaturated, glaring red. Some photographers deal with this by converting the image to black and white. Others prefer to make color temperature and hue/saturation adjustments in post-processing software.
Dave Shaver of Cecil’s Truck, Frisco Bar and Grill, Frisco, Texas
I hope this blog has been informative, but I am by no means an expert on the subject. For further reading (and viewing), I highly recommend Matthias Hombauer’s How To Become A Rockstar Photographer web series (http://www.howtobecomearockstarphotographer.com/) and Phil Steele’s event photography training course (http://www.steeletraining.com/event.htm).
Cheers, and Rock On!
cpshutterbug
